|
The tutorial is written with PSP X8 but can also be done with other versions.
To retrieve the material click on the parrot
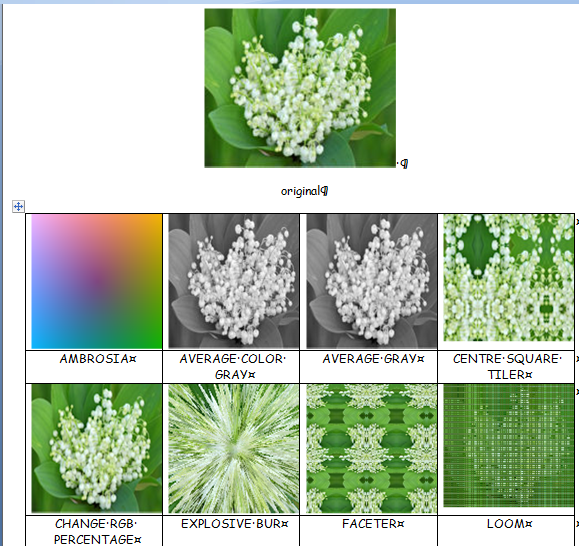
THIS WEEK WE WILL STUDY EFFECT FILTER FACTORY M
Matérial
You need at your choice
1 tube
1 tube related to lily of the valley
1 image on the same theme
Decoration tubes
1 mask (in the material)
Filters
Factory M - Effet Explosive Blur
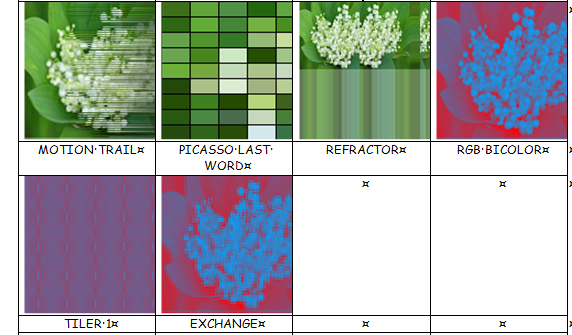
Effet Faceter - Effet PICASSO
Effet MOTION TRAIL - Effet Factory M Tiler 1
-----
This tutorial is my property, it is forbidden to copy or distribute it on the Internet without my written permission.
Likewise it is forbidden to erase the watermark of the material
Respect the work of the tubeuses without which we could not create tutorials
******************
If you are ready we start :
Open your images and your tubes duplicate them and close the originals
Open a new image 900x600 white
Open the mask in your PSP
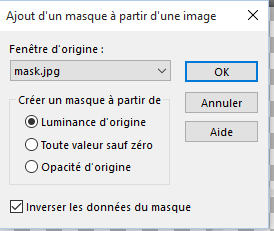
Layers/New mask layer/From image
Choose "Mask.jpg", check "Invert mask data"
Layers/Merge/Merge group
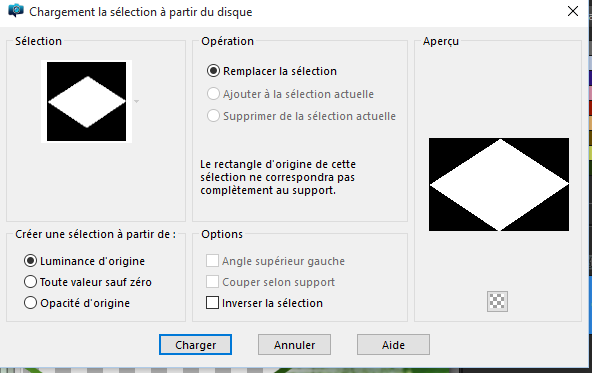
Select/Load/Save selection/Load selection from disk "Selection 1"
Open image lily of the valley or yours
Edit/Paste into selection
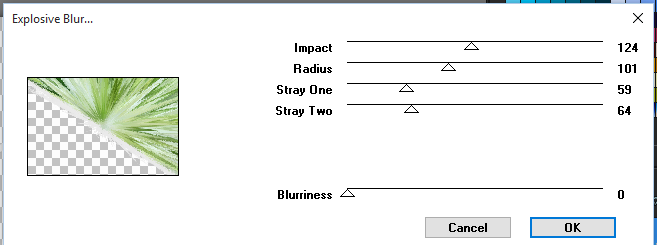
Effects/Plugins/File Factory M/Explosive blur (124, 101, 59, 64)
Selection/Selection none
Select/Load/Save selection/Load selection from disk "Selection 2"
Edit/Paste into selection your image always in memory
Effects/Plugins/File Factory M/Faceter (34, 99, 17)

Selection/Selection none
Select/Load/Save selection/Load selection from disk "Selection 3"
Edit/Paste into selection your image always in memory
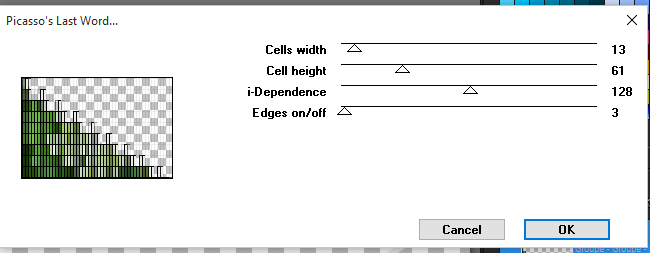
Effects/Plugins/File Factory M/Picasso (13, 61, 128, 3)
Selection/Selection none
Select/Load/Save selection/Load selection from disk "Selection 4"
Edit/Paste into selection your image always in memory
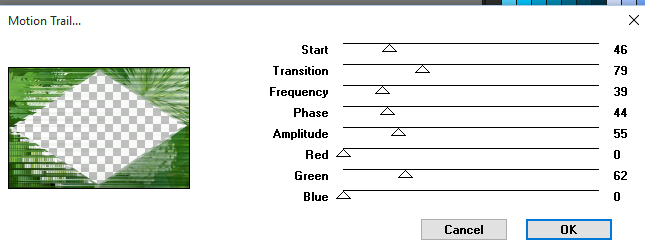
Effects/Plugins/File Factory M/Motion Trail (46, 79, 39, 44, 55, 0, 62, 0)
Selection/Selection none
Select/Load/Save selection/Load selection from disk "Selection 5"
Fill with dark color for me #438434
Effects/Plugins/File Factory M/Tiler 1 (85, 0, 12, 37)
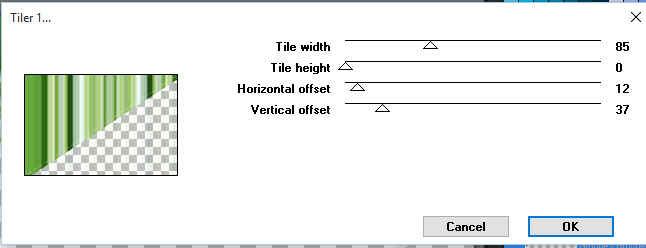
The effect may be different depending on the image
Select/Modify/Contract 10
Delete (but do not deselect)
Layers/New layers
Open your second image lily of the valley
Edit/Copy
On your tag Edit/Paste into selection
Selection/Selection none
Open your main tube Edit/Copy
On your tag Edit/Paste as a new layer
Make a drop shadow at your convenience
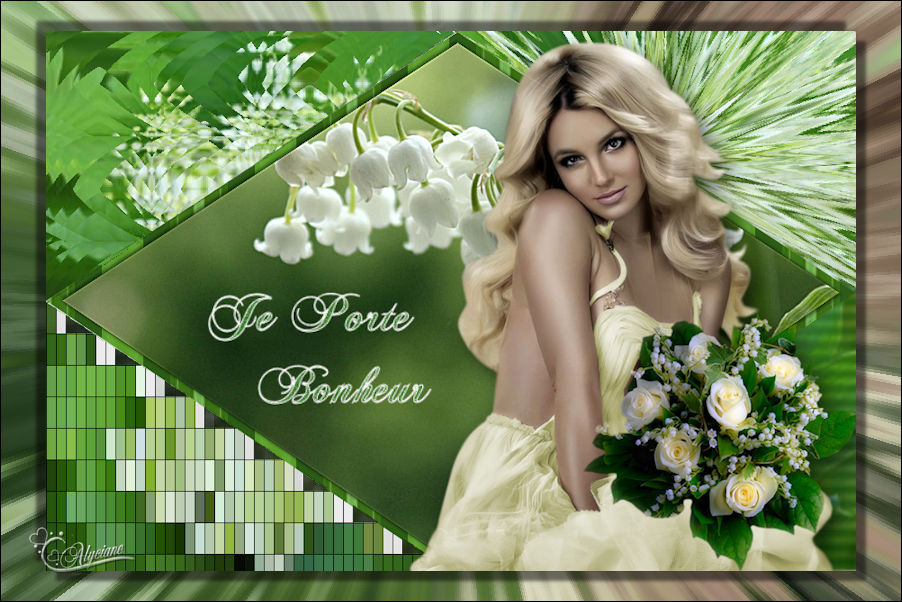
With the font "Chopin" (in the material folder), size 48 pixels, write "Je porte bonheur" or "I bring happiness"
Layers/Merge/Merge visible
Layers/Duplicate (all layers unchecked)
Image/Resize 90%
To put on the layer below
Adjust/Blur/Gaussian Blur : 15
Effects/Plugins/File Factory M/Explosive Blur (124, 101, 59, 64, 0)
Return to the layer above
Return to the layer above
Effects/Effects 3D/Drop Shadow by default
Repeat in negative
Image/Add borders/1 black
Sign your realization, resize if necessary and save in JPEG
Here it is, I hope that the realization of this tag has pleased you
Thanks you for having realizing
Thanks to Garances who checks my all tutorials
Garances 26/04/2018
retour au menu Etude de filtres

|